
Introduction
At higher levels, Eden Board Quest (BQ) has become the leveling norm. Although several maps could easily be accessed via the Dungeon Backdoors, there are still some maps and dungeons that require quests to gain access to. The guides below will focus on the necessary quest to finish the higher level (level 100-140) Eden Board Quest. Some of these are part of a longer quest, but the guides are only written until players gain access to the necessary maps for the BQ.
New World (Lv100)
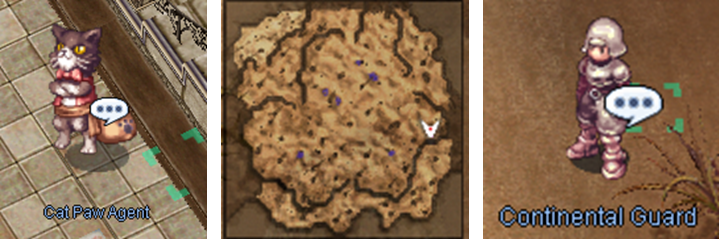
Find your way to the Eden Group Headquarters and talk to the Cat Hand Agent (/navi moc_para01 44/20) near the portal going to the second floor. When prompted, choose “Why don’t you collect it yourself?”. Continue the conversation and select “I also want to go and help the merchants”.

The Cat Paw Agent will ask for your name (you can type anything here) and will ask for 50,000 to introduce you to an agent. Subsequent teleport requests will be free.

You will be teleported to moc_fild20. Move a little to the left and talk to the cat. Select the “Let’s do this!” and you will be teleported to Dimensional Gorge.

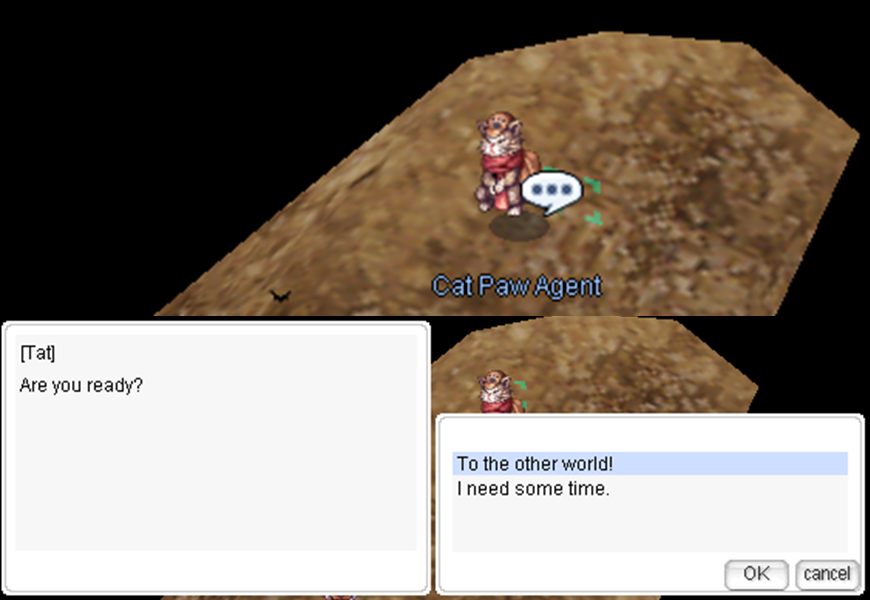
In the Dimensional Gorge, talk to the Cat Paw Agent and select “To the other world!”. You will be teleported to the Rune Midgard Allied Forces Post (mid_camp). From here, you have access to several maps to the left (Lv100-110 BQ) and right (Lv110 BQ).
Abyss Lake (Lv120)
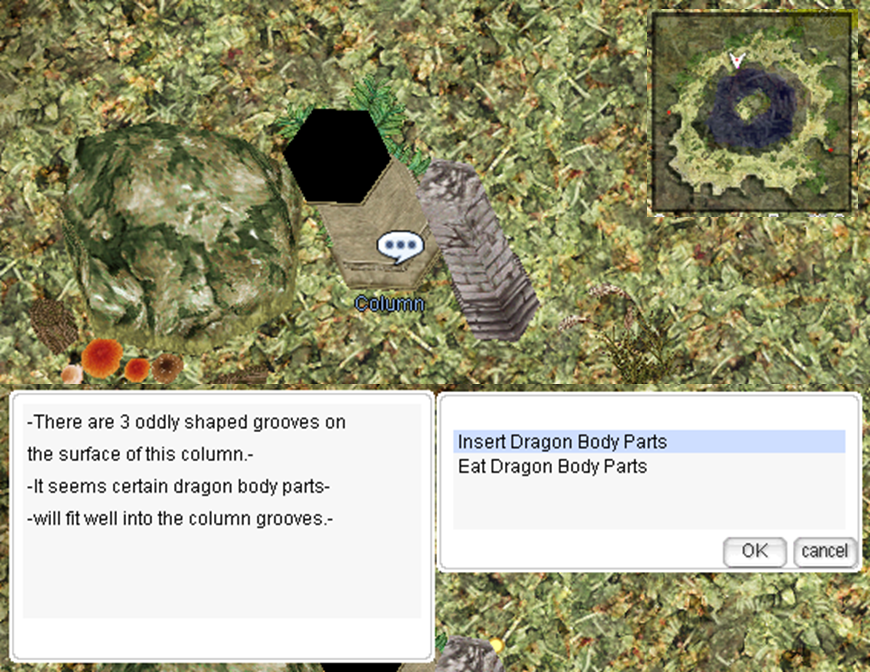
Bring 1 Dragon Canine, 1 Dragon Scale, and 1 Dragon Tail, and find your way to Hugel Field 5 (Hugel, down, left). Interact with the Column (/navi hu_fild05 170/306) and choose “Insert Dragon Body Parts” when prompted.

You will be teleported to the middle of the map and a portal to Abyss Lake will open.
For a party, party members can teleport to the middle of the map, and one of the members could open the portal saving the team the materials.
Sally Port Abyss Lake
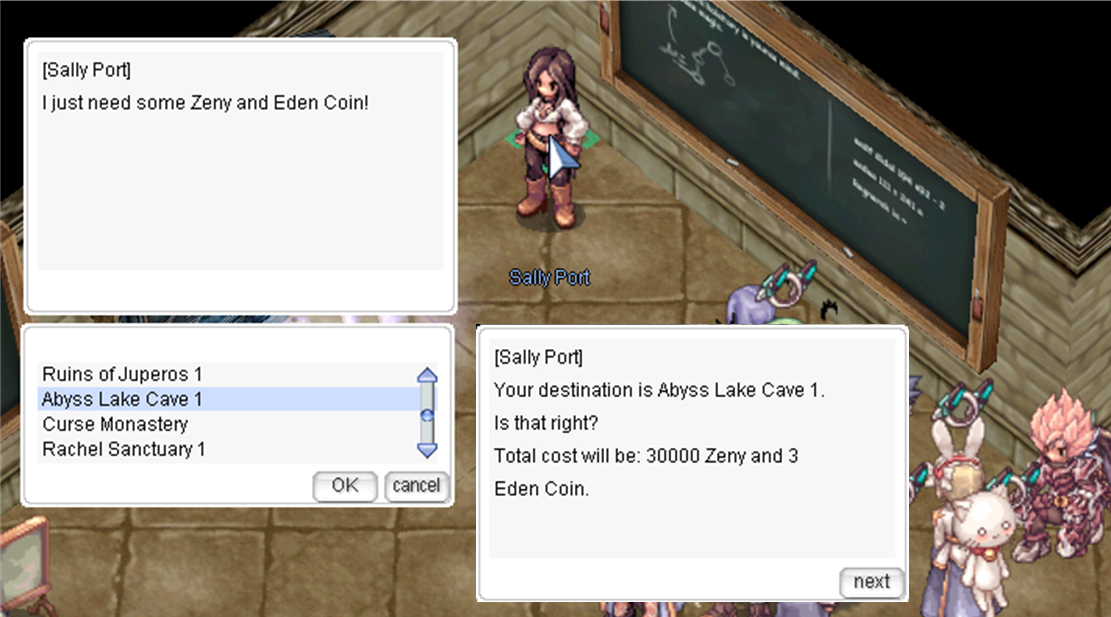
Sally Port in Eden Group Headquarters provides direct warp to the Abyss Lake Cave for 30,000 Zeny and 3 Eden Coins. This option is a much quicker route, and since Eden Coins currently has limited use, this is a good alternative to go to the map easily .
Thanatos Tower (Lv120)
This quest is necessary to go beyond the 6th floor of Thanatos tower, which is essential to finish the monsters assigned for the level 120 board quest.
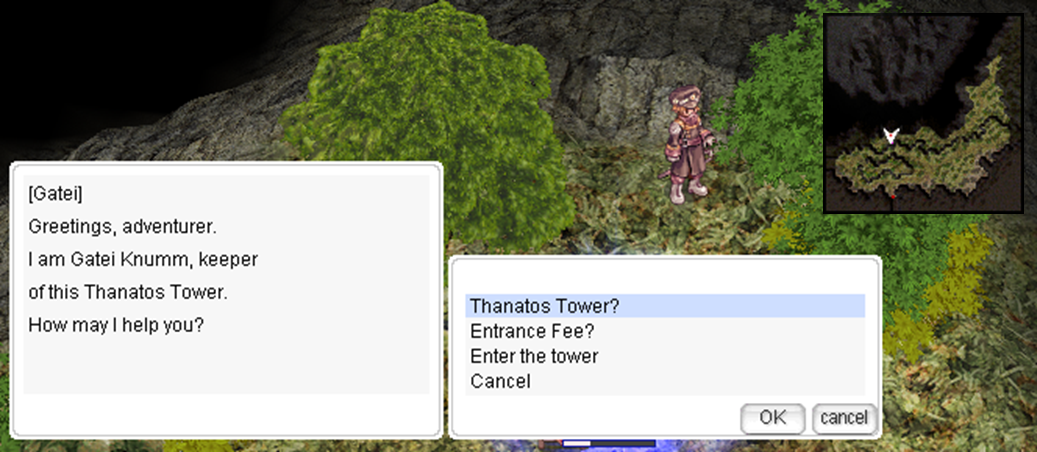
Enter the tower by talking to the guard NPC at Hugel Field 1(/navi hu_fild01 140/163). The map cannot be memo-ed but the map to the south and east are memo-able. If you do not have access to a warper, the fastest way to get there is via Sally Port. Teleport to Magma Dungeon 1, exit through the portal (just a bit south of the teleport spawn), then go 2 maps north. Sally Port will charge you 2 Eden Coins and 10,000 Zeny. Alternatively, you can go to Juno and follow the navigation towards Hugel Field 1(/navi hu_fild01 140/163).
Find the Guide in Thanatos Tower 1F
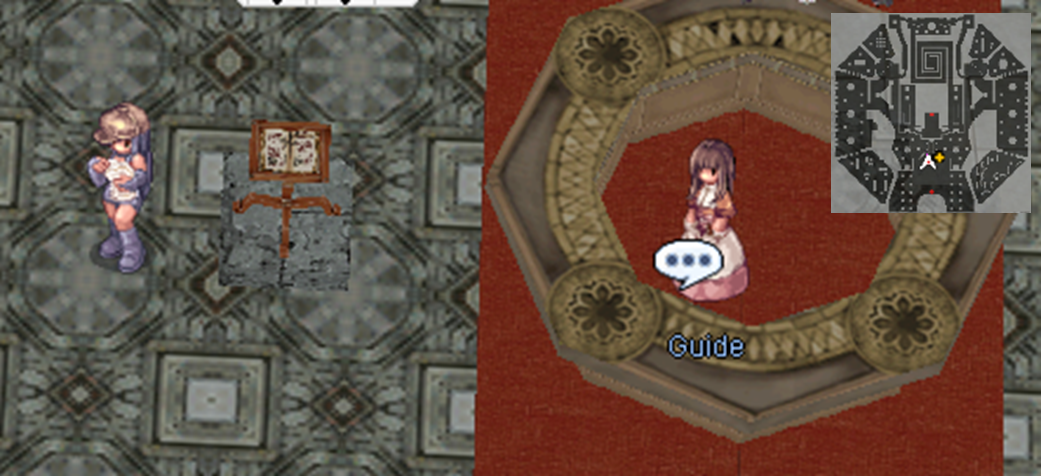
To enter the 3F, talk to the Entrance Guide.

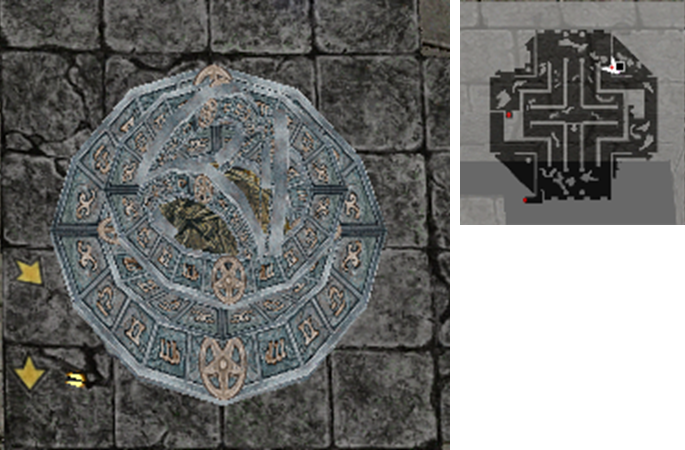
On the 3F, find a Rune Device in the northeast corner. Interact with the device and select “Just investigate it” when prompted. Using a level 4 weapon, you can open the device to obtain a Red Key.


Proceed to the 4F, and find another Rune Device in the northeast corner. This device will require you to solve a puzzle. The machine will have a non-repeating 3-digit access code and you are given 5 chances to guess it. In each guess, you will be informed how many digits were correctly guessed and how many numbers are correct but not in the proper location. Upon guessing the correct access code, you will receive a yellow key.


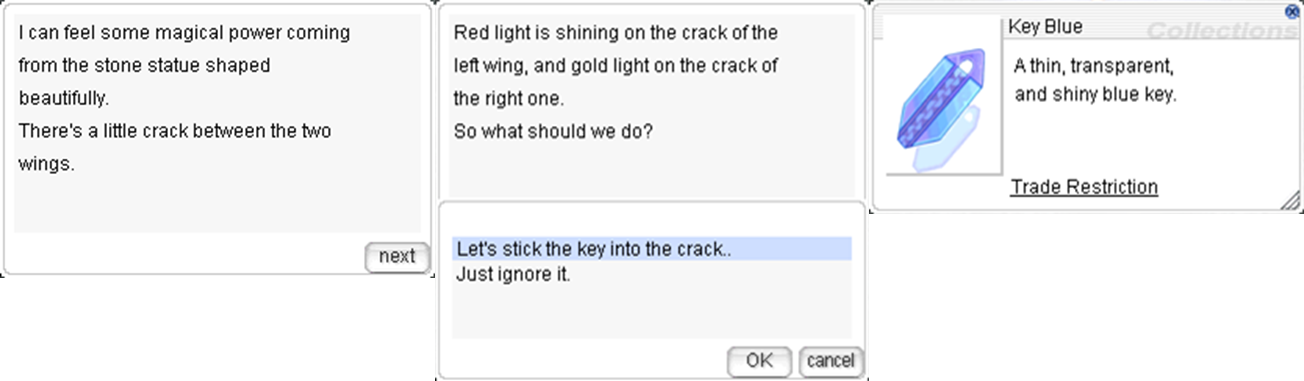
On the 5F, you will find another device in the northwest side of the map. Insert the Red Key followed by the Yellow Key and you will obtain a Blue Key.

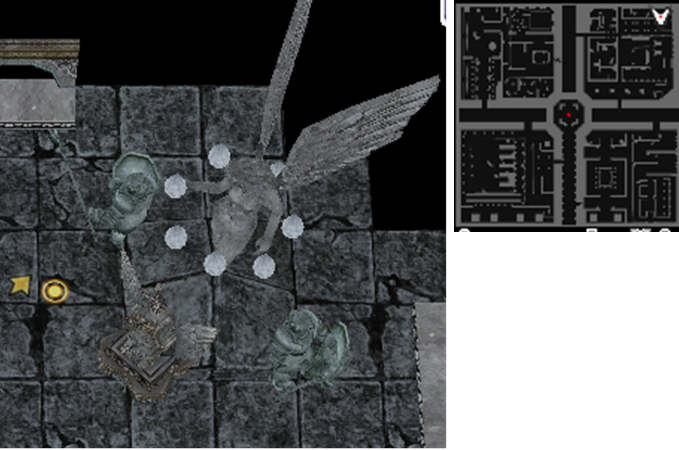
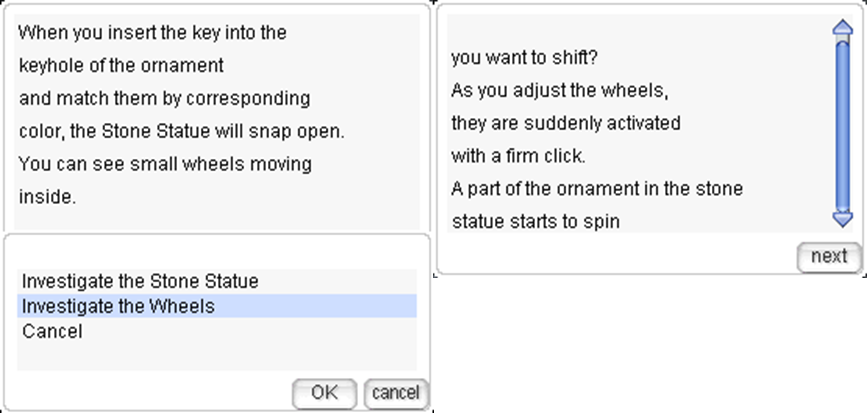
On the northeast corner of the 6F, you will find another device. You will be asked to adjust 5 wheels. Use the following combination:
- First Wheel – Option 1
- Second Wheel – Option 2
- Third Wheel – Option 3
- Fourth Wheel – Option 1
- Fifth Wheel – Option 1
In the process, you will receive a Green Key.
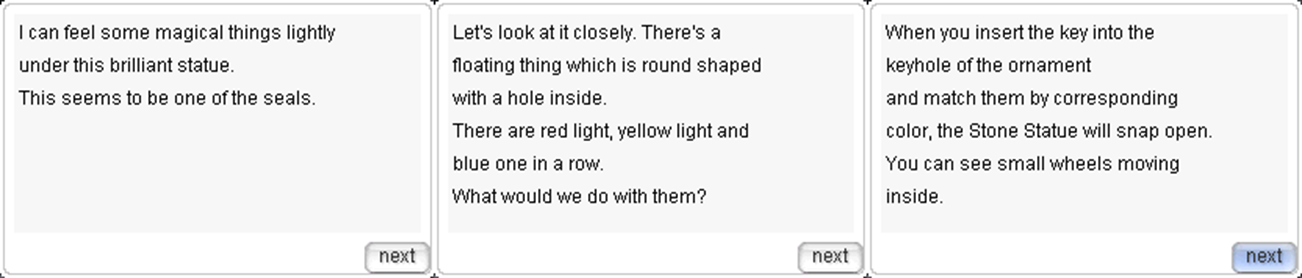

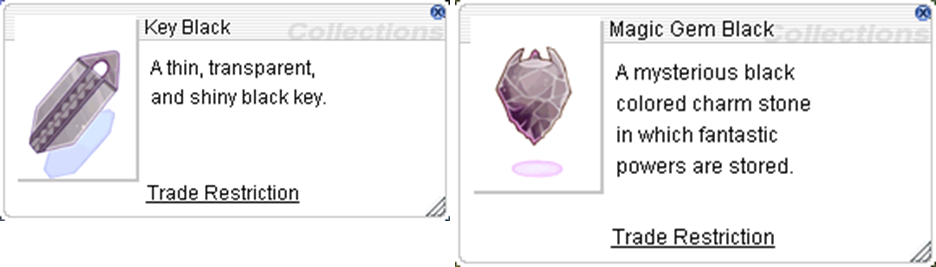
A little bit south on the same floor (6F), you will find another device. Choose the first option followed by the second option (1st, 2nd, 2nd) when prompted. After which, you will receive the Black Key.

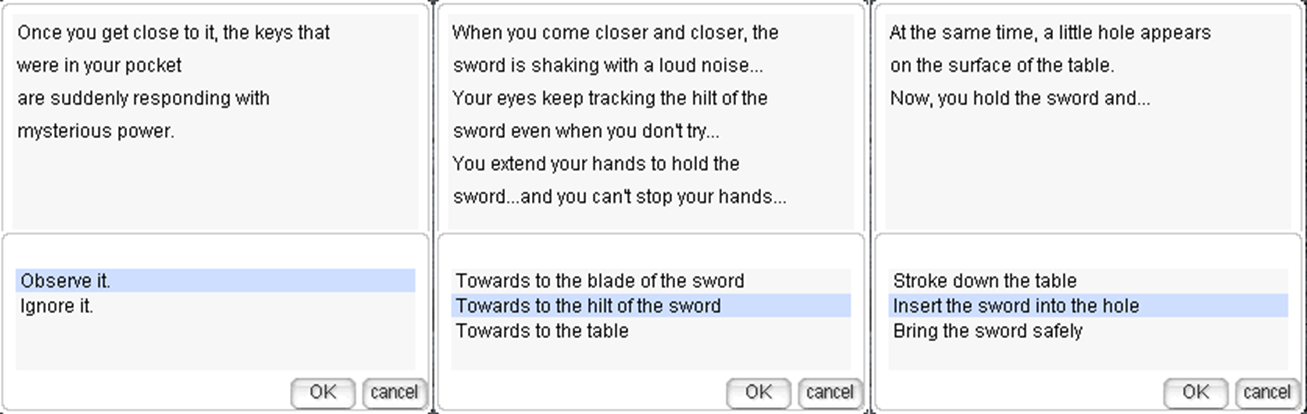
You can now proceed to the 7F by entering the portal in the middle of the map. This portal will change the Black Key into a Magic Gem Black. Note: for the board quest, there is no need to proceed further with the Thanatos Tower Quest. However, the Magic Gem Black must be sold every time you want to access the 7th, 8th, and 9th floors where most of the required level 120 Thanatos Tower monsters mostly spawn.

El Discastes (Lv120)
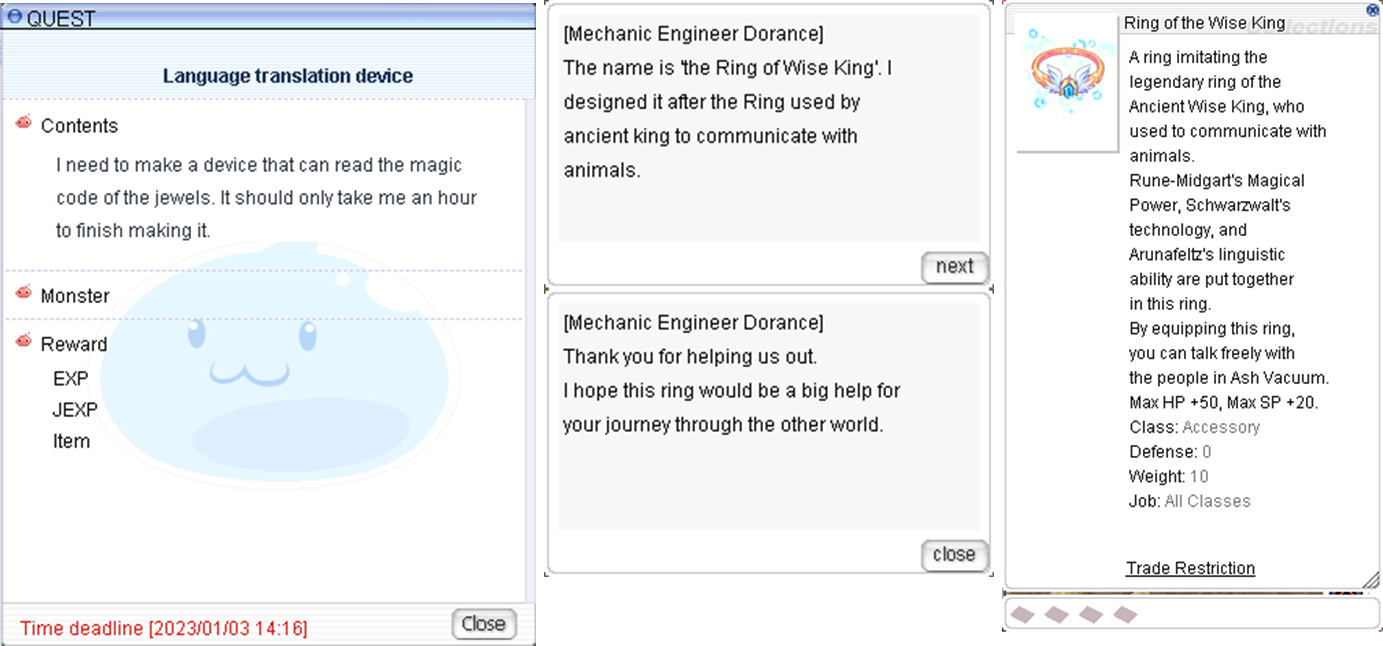
Gaining full access to El Dicastes requires three quests that start from gaining the Ring of the Wise King, which allows you to talk to various non-human NPCs. With the ring, players can proceed to obtain the Light of Dicastes, which allows them to use a skill to get to El Dicastes. BQ leaders expect players to use this when moving to El Dicastes. Finally, another quest is necessary to gain access to the 2nd floor of Scaraba Hall.
Since this quest is quite long, some players opt to skip this quest. Players who skip the quests will only miss out on the exp gain from Scaraba Hall 2F. All the other maps are accessible through the dimensional gap or Sally Port Teleporter. However, note that this might irritate your party mates since it will take time to go through the dimensional gap. It is still best to do the quest.
El Dicastes Access via Dimensional Gap

To access the El Dicastes map via the Dimensional Gap, go to the Dimensional Teleporter in the Eden Board Quest Room (/navi moc_para01 36/80). You will be teleported to the 2nd floor of the Dimensional Gap. Find your way to the first floor and go to the top left-most portal (/navi dali 40/135). You will then be teleported to the Dolomedes map. If your party members are waiting outside El Dicastes, go to the map to the north. Most parties go to Dolomedes first so you can also wait here. Ask your party leader about the party’s route.

El Dicastes Access via Sally Port
Sally Port at Eden HQ provides a teleport service to Scaraba Dungeon 1 for 30,000 Zeny and 3 Eden Coins. This is a good alternative since at this point, players normally have a lot of Eden Coins. Upon arriving at Scaraba Dungeon, enter the portal to the right and it will lead to the field just outside El Dicastes. The gate is located on the north side of the map.

Part 1: Ring of the Wise King
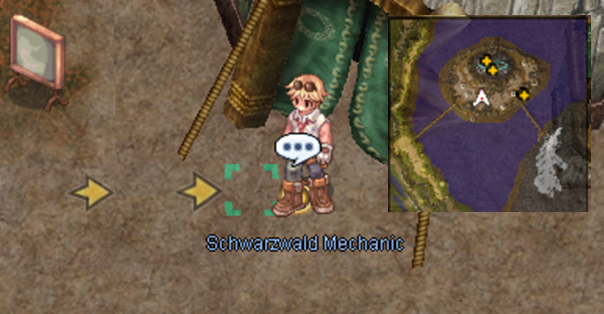
Go to the Mid Cap and talk to Schwartzvalt Mechanic (/navi mid_camp 197/237). He will tell you about the Ring of King Wise and will ask you to talk to Arunafeltz Linguist.
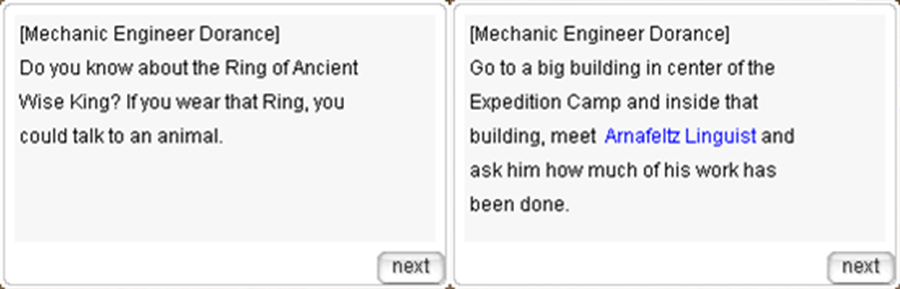
Go to the second floor and find Arunafeltz Linguist (/navi mid_campin 168/82). He will ask you to meet fairies and wooden giants to the left and right of mid camp.

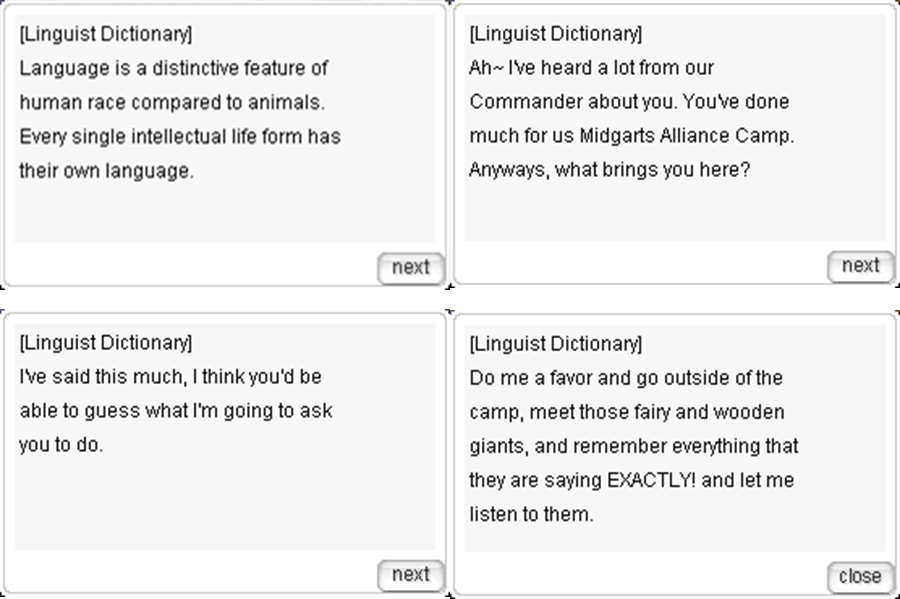
Find and talk to the Small Fairy (/navi spl_fild02 34/223 and Tree Giant (/navi man_fild03 236/105). You need to report this to Arunafeltz Linguist. The Small Fairy’s map is just located one map to the West of Mid Cap. To get to the Tree Giant map, move one map to the East and then move one map South.

Return to Arunafeltz Linguist (/navi mid_campin 168/82) and report the language of the fairies and tree giants. When prompted, type the following one line at a time EXACTLY.
| Small Fairy | Tree Giants |
| RLGHLRXLA TKANTLFDMS WJACK TNAHRDNJSDMFH WLSGHKWND !! | TJDTMFJDNS CJFDI TKADLFDMF QKATOS EKDTLSDML DLFMADMS.. |

Talk to Arunafeltz Linguist (/navi mid_campin 168/82) again and he will tell you to talk to Rune Midgarts Magician (/navi mid_camp 147/256).

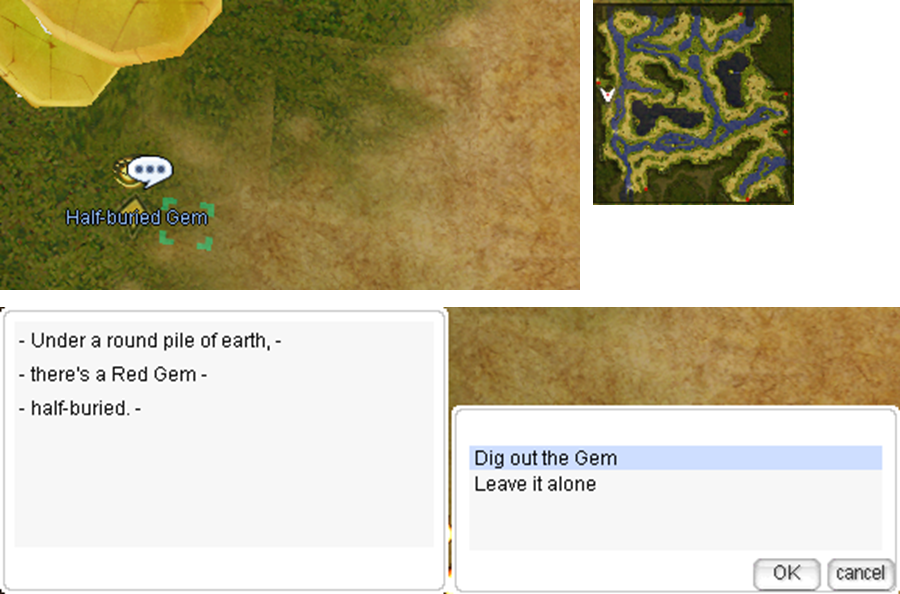
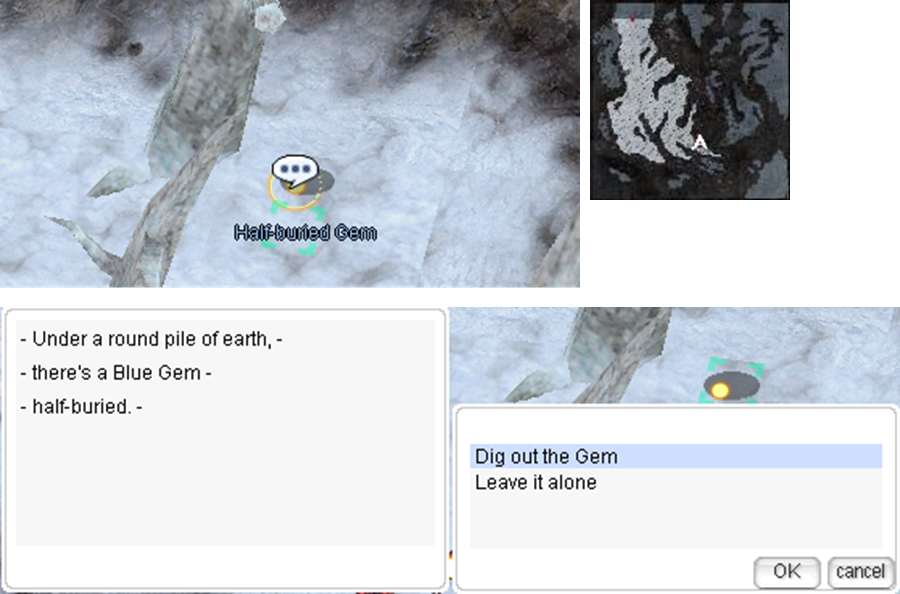
The Rune Midgarts Magician (/navi mid_camp 147/256) will ask you to retrieve Buried Gems that recorded the language being pronounced.

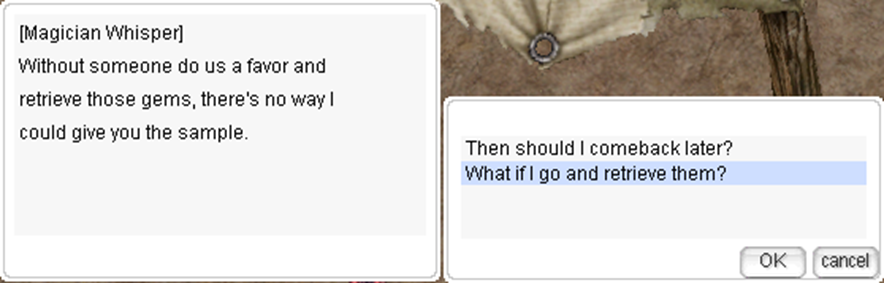

Dig out the Red Gem (/navi spl_fild02 26/218) and Blue Gem (/navi man_fild03 227/109). The gems are located near the Fairy and Tree Giant that were visited earlier. The gems have traps so Thief Bugs could spawn. You have to kill the Thief Bugs and dig again. Continue digging until you get the Red Jewel and Blue Jewel.
Return to Rune Midgarts Magician (/navi mid_camp 147/256) with the Jewels and he will extract the voices and then send them to Arunafeltz Linguist


Go to Arunafeltz Linguist (/navi mid_campin 168/82) and he will ask you to go Schwartzvalt Mechanic (/navi mid_camp 197/237).

Talk Schwartzvalt Mechanic (/navi mid_camp 197/237) and he will ask you to talk to Rune Midgarts Magician (/navi mid_camp 147/256).

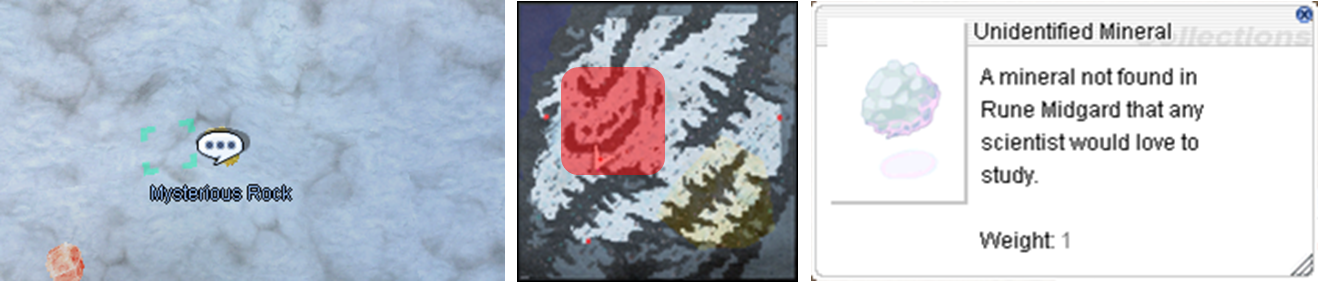
Talk to Rune Midgarts Magician (/navi mid_camp 147/256) and he will ask you to find an Unidentified Mineral.

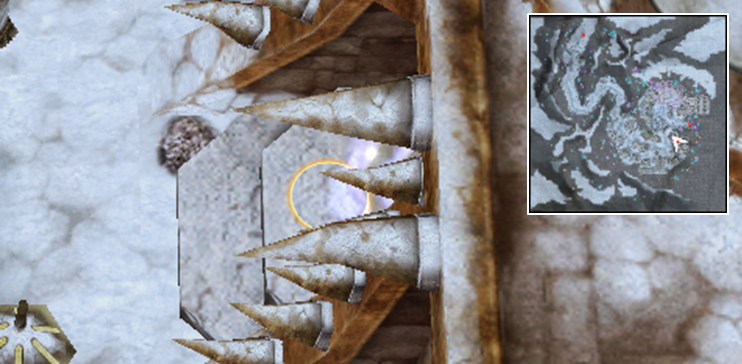
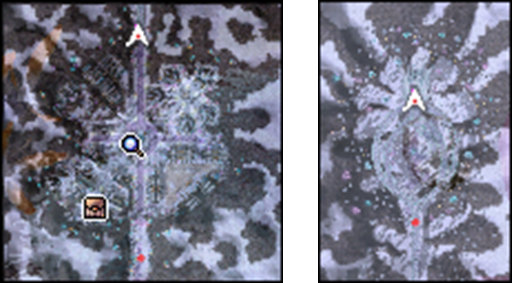
Go to man_fild01 (one map east of Mid Cap) and click on the Mysterious Rocks until you get an Unidentified Mineral. The Mysterious Rocks are scattered around the red area in the figure below. These rocks respawn so you may opt to wait for the respawn or walk around and find other Mysterious Rocks.
After obtaining an Unidentified Mineral, return to Rune Midgarts Magician (/navi mid_camp 147/256) and he will ask you to deliver it to Schwartzvalt Mechanic (/navi mid_camp 197/237).
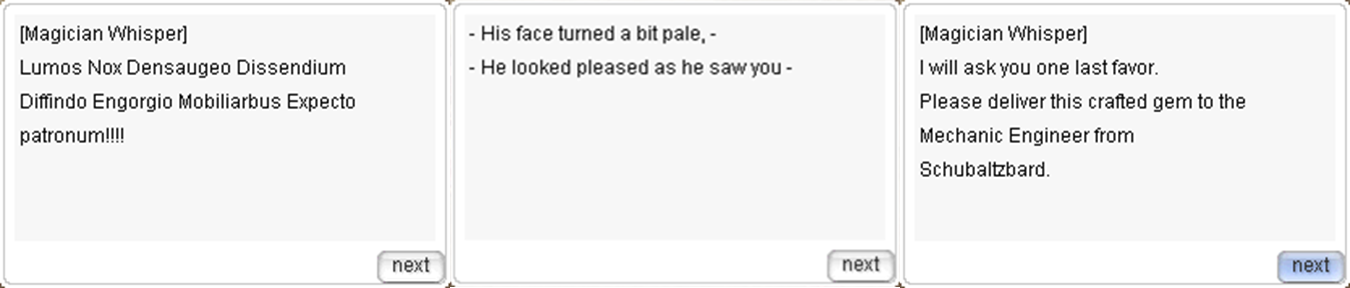
Schwartzvalt Mechanic (/navi mid_camp 197/237) will make the Ring of Wise King for you but it will take 1 hour to finish it. Return in one hour and you will receive the Ring of Wise King and some EXP. The exact time when you can get the item could be seen in your quest window.
Part 2: Sapha’s Visit (Light of Dicastes)
Go to the Midgard Camp and talk to either Expedition Guard Ben or Exceditional Guard Maha near the center of the camp (/navi mid_camp 220/244). They will discuss current issues in the camp. Stay silent and simply listen to their discussion. At the end of their conversation, you will overhear that Aello might know more.


Enter the portal to the left of the two and talk to Guard Aello (/navi mid_campin 93/114). He will ask you to talk to the Sapha from Manuk on the second floor of the tent.


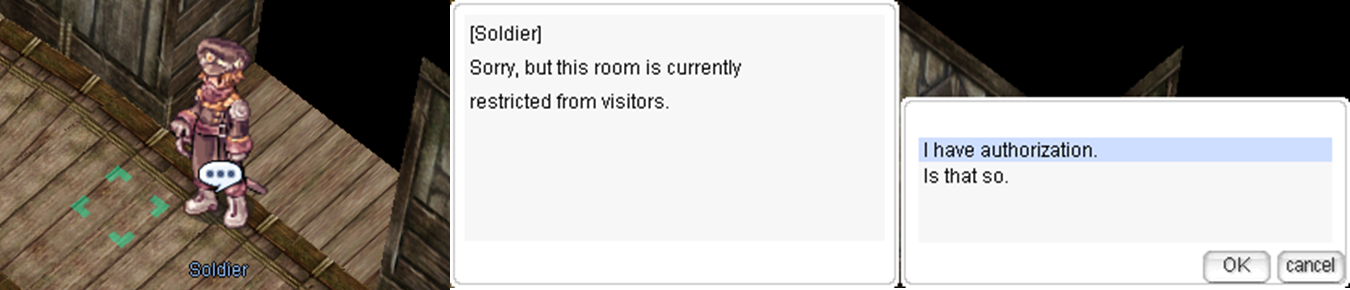
Talk to the Soldier (/navi mid_campin 110/120) and tell him that “I have authorization”.
Inside the room, speak to the Sapha from Manuk. Wear the “Ring of Wise King” obtained from the previous quest before talking to the Sapha to understand him.

Talk to the Sapha from Manuk again and he will talk about the invitation to go to El Dicastes. Continue talking to him until he asks you to meet General Guard Avalanche at Manuk.

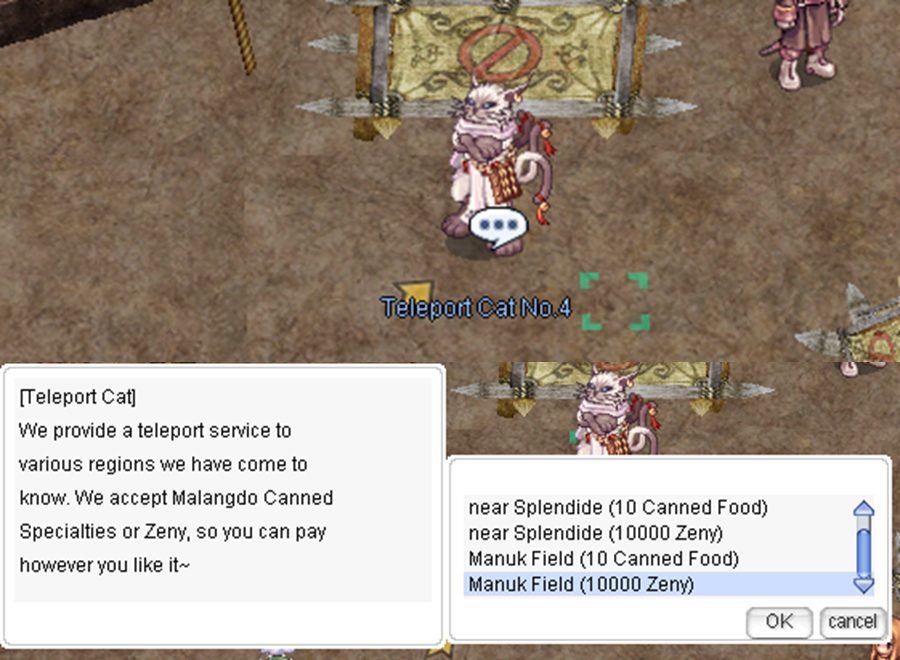
Just outside the tent, talk to the Teleport Cat No. 4 (/navi mid_camp 207/233) and select Manuk Field. You will be teleported right outside Manuk. Enter the portal and walk towards the lower right of the map and enter Avalanche’s building (/navi manuk 309/142)
Talk to Guard Captain Avalanche (/navi man_in01 315/51) and he will allow you to use the tunnel going to El Dicastes.

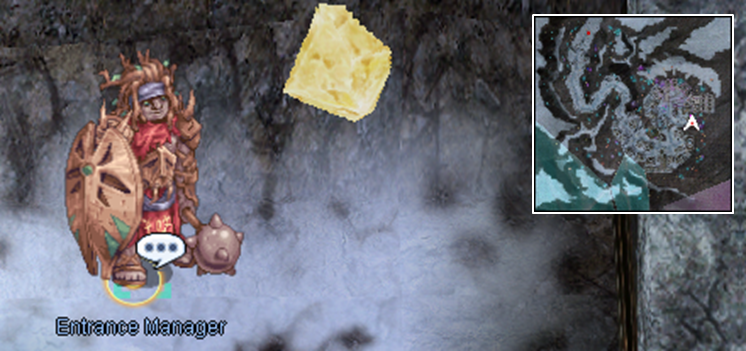
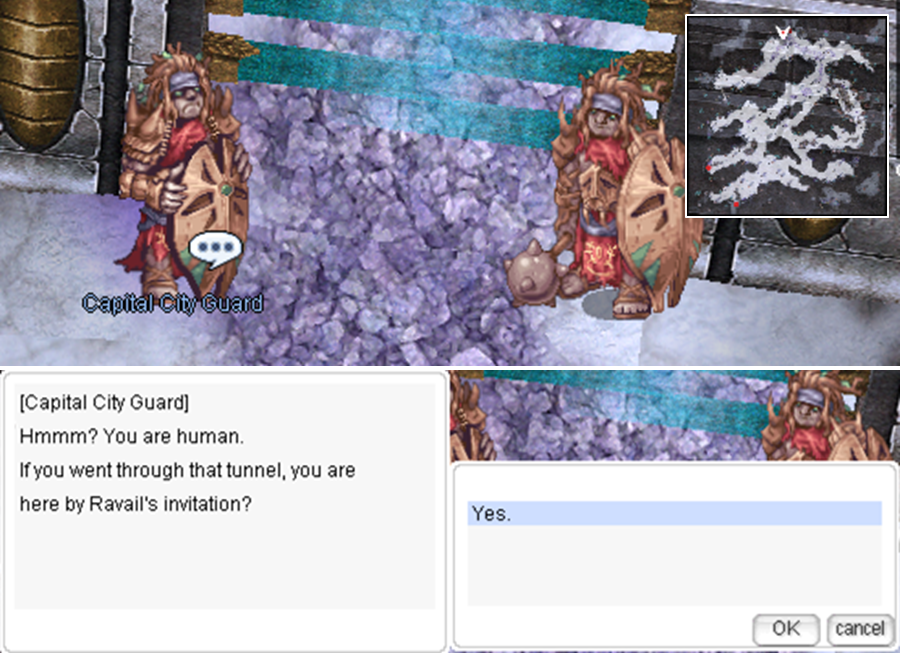
You can now enter the Scaraba Dungeon via the Entrance Manager (/navi manuk 321/182). At this point, you have the option to use the alternative routes to El Dicastes or go through the tunnel until you reach the lower right side. Upon exiting the tunnel, go north and talk to the guard.

Talk to the guards to enter the city and then move to maps up.
Talk to the Adventurer Clerk and select “Register as an adventurer” and you will receive the “Light of El Dicastes”.

Equipping this accessory will grant you a special skill under the “Misc” tab. Note: this skill has a 5-minute cooldown. Party leaders often expect you to use this to go to El Dicastes.

Part 3: Scaraba Hall 2F
Finally, the quest to access the Scaraba Hall 2F. This is part of a longer quest, but this guide will end once you gain access to Scaraba Hall 2F.
Go to mid camp again and talk to Inspector Doha (/navi mid_campin 167/170) and select “I came to meet the inspector”. He will ask you to investigate in El Dicastes while he investigates in Manuk and Splendide.

Go to El Dicastes and enter the building at the lower right corner (/navi dicastes01 137/106). The portal is covered by the building but rotating the screen will reveal the portal.

Upon entering the portal, go to the right and locate the elevator (/navi dic_in01 42/116). Select “Pub Burman Flone”.

Talk to Shay and ask “About other races” “with cat ears”. He will tell you to ask the Sapha around El Dicastes.


Talk to the Walking Knit (/navi dicastes01 207/210), Resting Piom (/navi dicastes01 112/248), and Training Galten (/navi dicastes01 249/140).


Return to Shay in the Pub and he will send you to talk to the cat BK. He gives you a special phrase in case BK ignores you.

Find BK at the mid right side of the map. Be careful in this map if you are not a DPS class since monsters are extremely aggressive and there are times when they spawn while you talk to BK.

After this step, you can FINALLY access the Scaraba Hall 2F!
Incarnation of Morroc (Lv140)
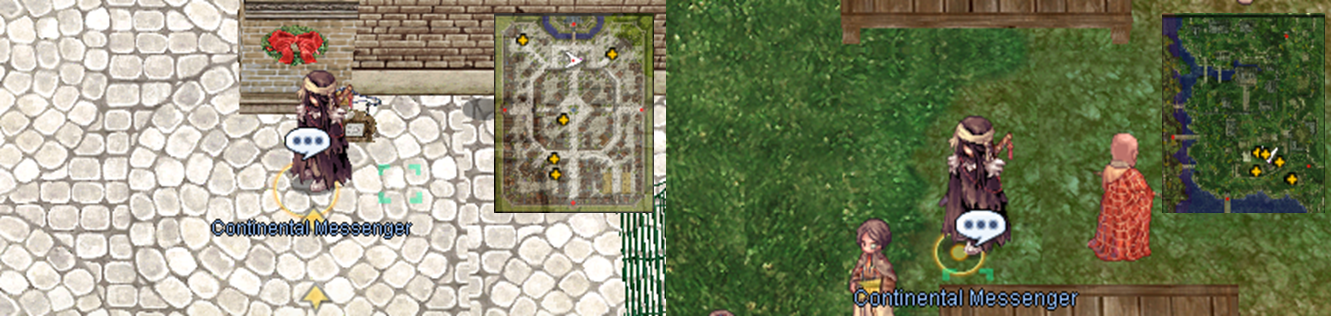
Talk to a Continental Messenger and you will be asked to help. There are several messengers, but the ones in Prontera (/navi prontera 164/304) and Payon (/navi payon 200/113) are best since you will go to Morroc next. They are also in Geffen (/navi geffen 128/90), Alberta (/navi alberta 127/64), and Al De Baran (/navi aldebaran 135/129).
He will explain the situation and will ask you to go to Morroc.

Talk to the Continental Official in Morroc and select “I’m here to volunteer” when prompted.

Talk to Chief Balrog and select “I want to join the Continental Guard.”
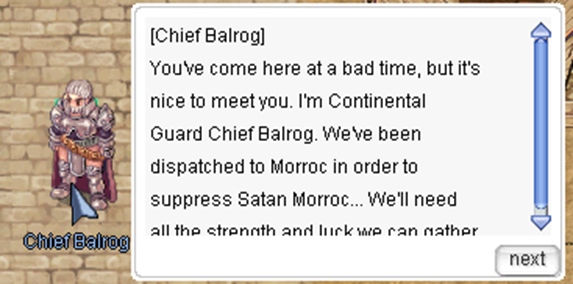
He will doubt you and just select the options that will show your eagerness.

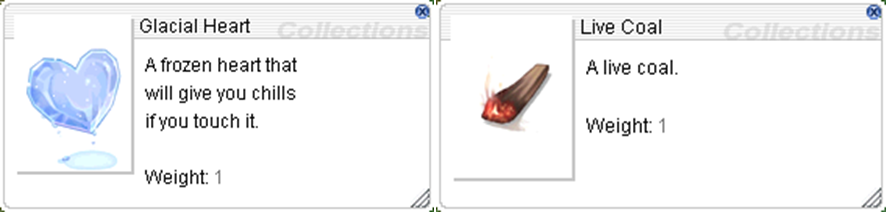
To finally test your commitment, Chief Balrog will ask you to bring 30 Live Coal and 50 Glacial Heart.
After submitting the required items, you will receive a Continental Guard Paper. This will grant you access to Sograt Desert – Continental Guard (moc_fild21).

Accessing Morroc Field 21
There are two ways to enter moc_fild21 and in both cases, you have to go to moc_fild20 first. The first option is through the east exit of Morroc (/navi morocc 296/207). When prompted, select “Undiscovered Area.”

Talk to the Continental Guard and select “Enter the Field to Investigate”. You can talk to any Continental Guard and the options will be the same.

You can also go to moc_fild20 via the Cat Paw Agent in Eden Headquarters. Similarly, select “Enter the Field to Investigate. Note: In both cases, you will be warped to the same location in moc_fild21.
Was this helpful?
2 / 0

Very useful guide since BQ is the way to go past level 100. Kudos!
Can you go to Misty Island / Nameless Island without any entrance quest?
You can check the backdoor guide for Nameless Island https://www.roggh.com/dungeon-backdoors/